Friday 29 April 2011

Shimmered Brooch


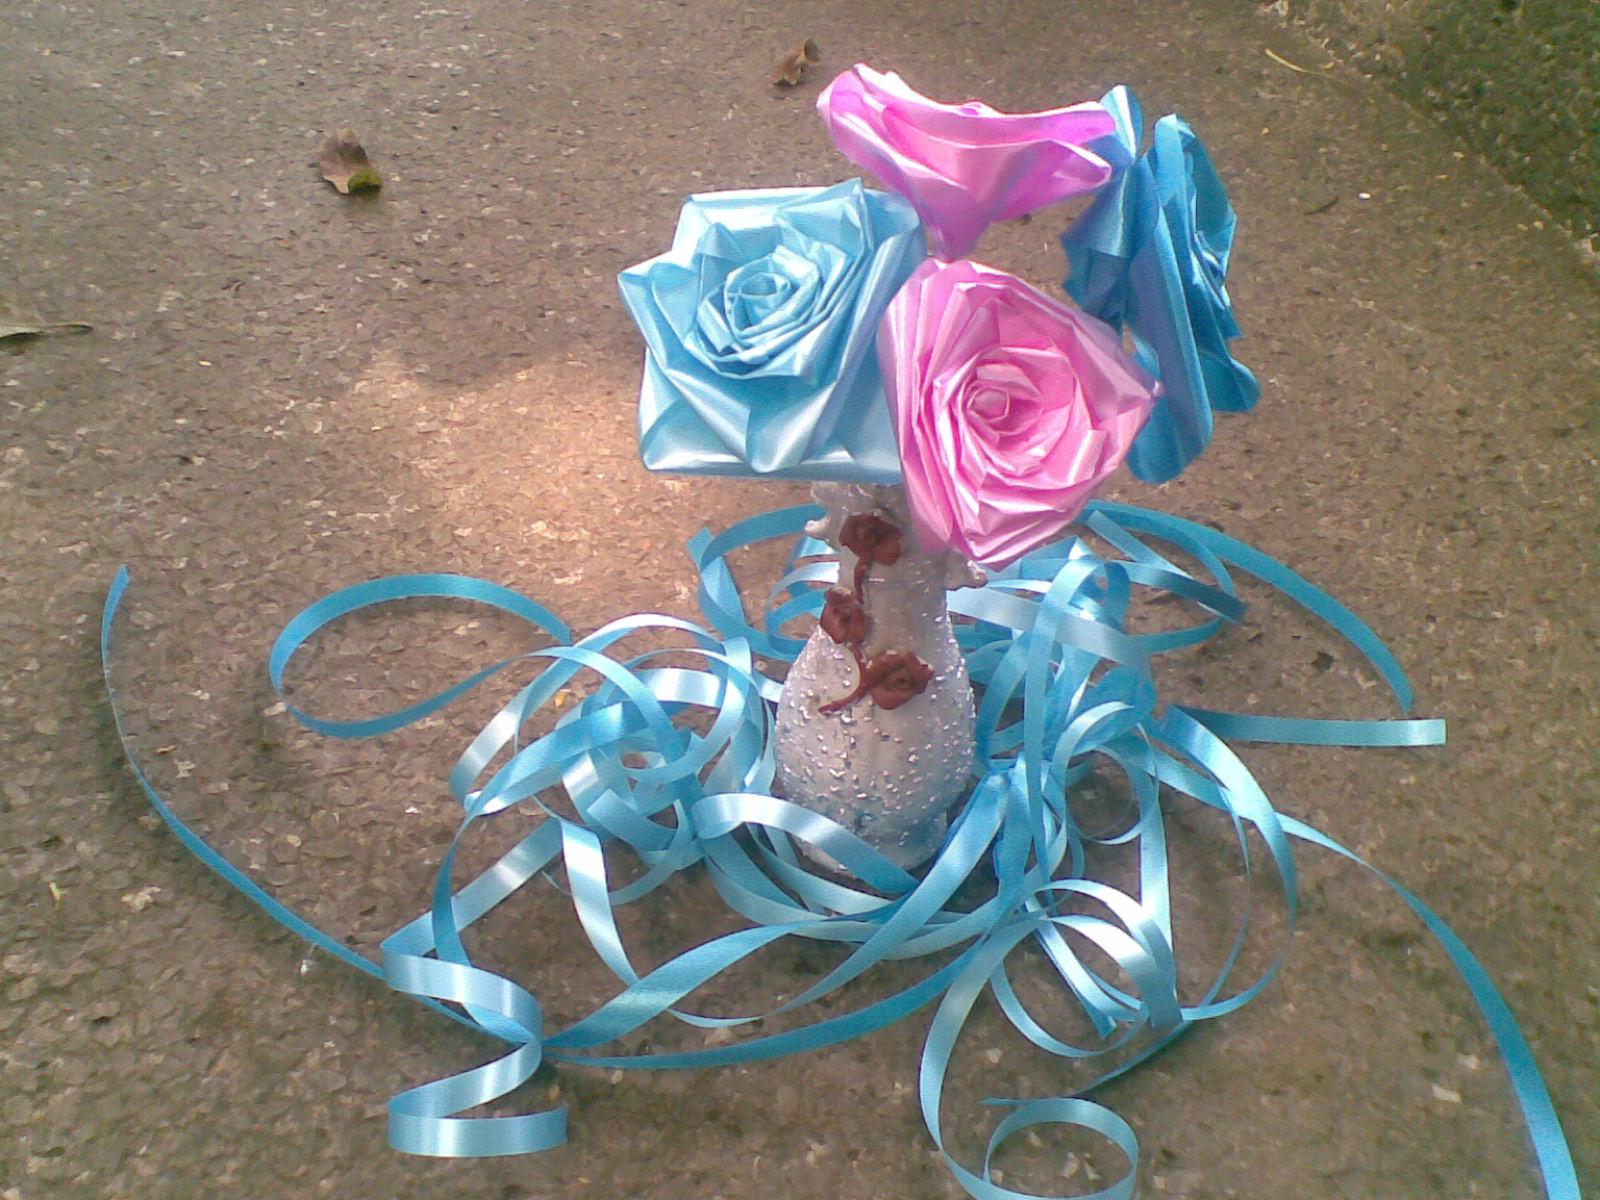
While doing a quick combo test for a dress I was to wear, this brooch idea struck me. This inspiration came out of different How To: for flowers, so I simply customized mine to suit my purpose by adding the acrylic stone to the flower center and shimmering it up! The pictures might not come out as you and I would have loved it so, basically because I'm just testing my way on taking pictures. 
So my apologies but I hope I made up for it with the frames I gave the pictures...a feature made possible www.picnik.com


Tuesday 26 April 2011

Stoned Bracelet


Introduction:
I was sewing a dress for a friend and  had to attach these acrylic  stones to it, it occurred to me that I could equally  use it to make a bracelet for myself and others too. So, I gathered some jump-rings from my store can and linked it all together. Didn't  use much of the stones seeing that I've got a small wrist. It looked lovely but seemed something was still missing when I finished assembling it so I decided to add a few charms and this gave it attitude.
  You can wear it on any dress and for any occasions since it comes in various colours.

Materials:
Acrylic Stones
Jump rings
Pliers
Charms/ Beads
Clasp


Step 1:
Measure your wrist to get an appropriate let for your bracelet.

Step 2:
Using your pliers open a jump ring and insert into the hole of the acrylic stone. Take another stone and put into the jump-ring, make sure that the flat side of the stone face each other.


Step 3:
Continue this until you get the length you want. Attach the clasps to each end of your linked  stones with jump-rings.


Step 4:
Finally, you can add as many charms as want to suit your style.


Friday 22 April 2011

In the spirit of Easter


Today is Good Friday, and with this I want to share my Easter egg colouring pages with you for you to enjoy with the little ones.


Hope you do enjoy this.....

Saturday 9 April 2011

How To : Paper Ribbon Roses

To make this


You will need
Scissors
Glue
Floral Wires (desired length)
Paper Ribbon (pink and blue)

Step One:
Cut 10" of ribbon, 6" of floral wire or any substitute you may want to try out

Step Two:
Using your white glue, glue the tip of the ribbon to the wire. Make sure that the wire is in your left hand and the ribbon in your right hand while you glue to each other.

Step Three:
Roll the ribbon around your wire three times to form the base. Then, make a right angle bend with the ribbon on the wire. Turn around the wire once more and make another right angle bend and turn around once again.

Step Four:
Continue to do this until all the ribbon is finished. Then you twist the excess around the wire and glue it down to the wire.

Step Six:
Using your ribbon still, tear out little long stripes with your hands. Pick one of the stripes and wind around the wire from the base of the rose stem down to the end of the wire and then glue it down once more.
And that's it, you have a paper ribbon rose.


Paper Ribbon Roses


I’m so in love with flowers. Every opportunity I get is out to make one or another, so I will be displaying a few of my creations. Considering that flowers are such pretty things that bring beauty, laughter and creativity into our lives and since I don’t have a garden yet, I try to surround myself with my assorted creations….enjoy my garden!
Paper Ribbon Inspired!


I was with a friend who wanted us to cover up a fountain with pulled ribbon bows and juat right there….ta da!


 To make this you will need a pair of scissors, wires, glue and paper ribbons (it could be fabric or paper) 


It came out so nice …after the party she took it back home.

Saturday 2 April 2011

WORD FOR THE DAY

Isaiah 60: 1

"Arise, shine; for thy light is come, and the glory of the Lord is risen upon thee..."
Related Posts Plugin for WordPress, Blogger...